There’s something magical about the moment you bite into a perfectly crafted butter bar – that first heavenly encounter with the tender, buttery crust giving way to a lusciously creamy filling that practically melts on your tongue. These aren’t your ordinary dessert bars from the grocery store bakery section. We’re talking about homemade butter bars that deliver an experience so indulgent, so perfectly balanced between rich and sweet, that they’ll become your go-to recipe for every special occasion, family gathering, or those moments when you simply need to treat yourself to something extraordinary. The beauty of making butter bars from scratch lies not just in their incredible taste, but in the satisfaction of creating something truly special with your own hands, using simple ingredients that transform into pure dessert magic.
What Makes Homemade Butter Bars So Special
Butter bars represent the perfect marriage of textures and flavors that commercial bakeries often struggle to replicate. The secret lies in achieving that ideal contrast between a sturdy yet tender shortbread-style crust and a filling that strikes the perfect balance between tangy cream cheese richness and sweet vanilla smoothness. When you make them from scratch, you control every element of this delicate balance.
The homemade advantage extends far beyond taste. Store-bought versions often rely on preservatives and artificial flavors that mask the pure, clean taste of real butter, fresh cream cheese, and quality vanilla extract. Your kitchen-crafted version celebrates these ingredients in their full glory, creating layers of flavor that develop and deepen with each bite.
Essential Ingredients for Perfect Butter Bars
Creating exceptional butter bars starts with understanding your ingredients and their roles in the final product. Each component serves a specific purpose in building the complex flavors and textures that make these bars irresistible.
The Foundation: Your Crust Components
The crust serves as more than just a base – it’s the foundation that supports and complements the creamy filling above. All-purpose flour provides the structure, while granulated sugar adds sweetness and helps create that slightly crispy exterior texture. The baking powder introduces just enough lift to prevent the crust from becoming too dense, while a touch of salt enhances all the other flavors without making the bars taste salty.
ADVERTISEMENT
Fresh eggs bind everything together and contribute to the rich color and tender texture, while room-temperature unsalted butter creates that melt-in-your-mouth quality that makes each bite memorable. Using unsalted butter gives you complete control over the salt content, ensuring perfect flavor balance.
The Star: Your Cream Cheese Filling
The filling transforms ordinary crust into extraordinary dessert bars. Room-temperature cream cheese provides the tangy richness that prevents the bars from being overly sweet, while also contributing to that coveted gooey texture. Fresh eggs help set the filling during baking while maintaining creaminess, and powdered sugar dissolves more smoothly than granulated sugar, creating a silky texture without grittiness.
Pure vanilla extract adds depth and warmth that complements both the tangy cream cheese and buttery crust. Using real vanilla extract rather than imitation makes a noticeable difference in the final flavor profile.
Step-by-Step Preparation Guide
Preparing Your Kitchen for Success
Before diving into mixing, set yourself up for success by bringing your cream cheese, butter, and eggs to room temperature about an hour before baking. This crucial step ensures smooth mixing and even baking. Preheat your oven and prepare your baking pan by lining it with parchment paper, leaving overhang for easy removal.
ADVERTISEMENT
Crafting the Perfect Crust
Begin by combining your dry ingredients – flour, granulated sugar, baking powder, and salt – in a large mixing bowl. Create a well in the center and add your room-temperature eggs and softened butter. Using clean hands or a pastry cutter, work the ingredients together until they form a cohesive dough that holds together when pressed.
The key to perfect crust texture lies in not overworking the dough. Mix just until the ingredients come together, then press the mixture evenly into your prepared pan. The crust should be firmly packed but not compressed to the point of becoming tough.
Creating the Luxurious Filling
In a separate bowl, beat the room-temperature cream cheese until completely smooth and free of lumps. This step is crucial for achieving that silky filling texture. Gradually add the powdered sugar, beating well after each addition to ensure complete incorporation. Add the eggs one at a time, followed by the vanilla extract, beating just until combined.
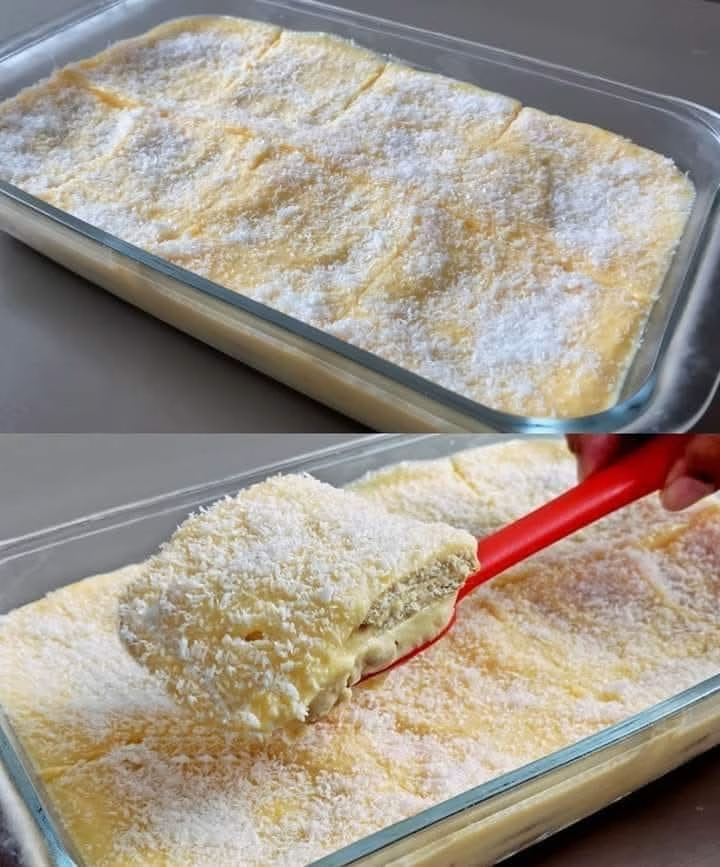
Pour this luscious mixture over your prepared crust, using a spatula to spread it evenly to the edges. The filling should completely cover the crust with a smooth, even layer.
Baking Techniques for Gooey Perfection
Achieving the perfect texture in your butter bars requires understanding how heat transforms your carefully prepared layers. Bake in a preheated oven, watching for visual cues that indicate doneness. The edges should be set and lightly golden, while the center should still have a slight jiggle when gently shaken.
ADVERTISEMENT
Overbaking results in a filling that’s more cake-like than gooey, while underbaking leaves you with a filling that won’t hold its shape when cut. The sweet spot creates bars that are set enough to slice cleanly but still maintain that coveted gooey texture.
Cooling and Storage Strategies
Patience during the cooling process rewards you with bars that slice beautifully and maintain their shape. Allow the bars to cool completely in the pan before attempting to remove or cut them. This cooling period allows the filling to finish setting while retaining that perfect gooey consistency.
For storage, cover cooled bars tightly and refrigerate for up to one week. The flavors actually improve after a day or two, as the components meld together. For longer storage, wrap individual portions in plastic wrap and freeze for up to three months.
Serving and Presentation Ideas
These versatile bars shine in various serving situations. Cut them into small squares for elegant party presentations, or slice larger portions for casual family desserts. A light dusting of powdered sugar adds visual appeal, while fresh berries provide color contrast and a hint of tartness that complements the rich flavors.
ADVERTISEMENT
For special occasions, consider drizzling with homemade caramel sauce or serving alongside vanilla ice cream. The warm-cold contrast creates an elevated dessert experience that impresses guests while remaining comfortably familiar.
Conclusion
Creating butter bars from scratch represents more than just following a recipe – it’s about embracing the joy of homemade baking and the satisfaction that comes from crafting something truly special with your own hands. These bars offer the perfect combination of simplicity in preparation and sophistication in flavor, making them ideal for both novice bakers looking to build confidence and experienced cooks seeking a reliable crowd-pleaser.
The magic of homemade butter bars lies in their ability to transform simple, everyday ingredients into something extraordinary through careful technique and attention to detail. From the moment you press that buttery crust into your pan to the final bite of gooey, cream cheese perfection, every step of the process contributes to creating dessert bars that will become a treasured part of your baking repertoire. Whether you’re preparing them for a special celebration or simply treating yourself to homemade goodness, these butter bars deliver the kind of indulgent satisfaction that only comes from scratch-made desserts crafted with care and quality ingredients.
